Showing posts with label Sizzix. Show all posts

Saturday, February 13, 2016

A Special Valentine Card

Hello again, friends!

I had a special request from my pastor to make a valentine card for his wife.  Of course, I said yes, but, me oh my, could I do justice for the occasion.  I wanted to make something that was feminine and a bit elegant. Thankfully, once I got started it all fell into place.  I was happy with the result, Pastor was happy, and hopefully Pastor's wife will be, too.


Here is what I used:  background panel - Sizzix Textured Impressions Dots & Flowers Set;
layered motif:  Spellbinders Shapeabilities Lacy Doily Motifs; hearts:  Spellbinders Nestabilities Classic Hearts.

Happy Valentine's Day to you all!
Annie

Friday, November 13, 2015

Celebrating Thanksgiving!


Hi friends,

 Thanksgiving Day is fast approaching.  Now that my cards are made, I can concentrate on planning a menu and doing the shopping.

All through the year we have things to be thankful for, but isn't it wonderful that we have an annual day set aside where we show special thanks for our blessings, family, and friends.  I love making and sending Thanksgiving Day cards, so today I'm going to share with you two more designs.


I love this clean and simple design.  The colors of the image and the layered panel just really pop out against the white background which is partially embossed.  It is a 5 1/2" x 4 1/4", side folded card.  The burgundy panel measures 4" x 2 1/2" after using the scallop border punch.  The white panel is 4" x 2" and stamped with a Kaleidacolor rainbow dye ink pad called Autumn Leaves (by Tsukineko).   Emboss the large 5 1/4" x 4" white panel, leaving 2" unembossed at the bottom.  I used the Stampin' Up/Sizzix embossing folder called Square Lattice, one of my favorite backgrounds.  After all pieces are attached together, wrap white ribbon around the whole assembly and tie a bow.  Then after you have stamped Happy Thanksgiving at the bottom of the panel, it is ready to be adhered to the card base.  For the finishing touch, I embellished the three flowers in the image with clear jewels.

The image stamp is by Inkadinkado #98700-DD (Pumpkin Trail).


I just have to smile every time I look at these little Pilgrim mice.  Who knows - maybe their ancestors came over on the Mayflower, too!  This sweet little stamp set is by Lawn Fawn called "Thankful Mice" (LF936), which coordinates with the "Thankful Mice" dies (LF937).

This card is the same size as the first card.  The embossed panel (Thankful Background & Borders Set by Tim Holtz) is layered onto a black panel, then attached to the card base.  A ribbon was tied around the sentiment panel in a square knot before it was attached to the decorative paper panel.  

Well, there you have it.  Thank you for joining me today.  I wish you a very blessed Happy Thanksgiving Day!

Annie


Saturday, November 8, 2014

Celebrating Thanksgiving!

Hi Card Makers,

Do you love Thanksgiving as much as I do?  I remember to be thankful all through the year, but in November it's especially fun because I get to make Thanksgiving cards and send them out.  Actually I started making these particular cards in October so I would have them ready for my card class.  I have several more designs I want to try and time is flying by!


Ribbon Leaf Card
This card idea came from Pinterest, although mine looks a little different as I used an embossing folder and leaf die that I had on hand.  So don't be concerned if you don't have exactly what I used.  Happily, you can use whatever you have and it will still look great, including the ink pad colors!  For a different effect, you could use Washi tape or strips of several colors of card stock.

Craft Card Base:  8 1/2 x 5 1/2", top folded
Craft Panel:  5 1/4 x 4"
Various colors and widths of Ribbon
Sizzix Textured Impressions Embossing Folder - Dots
Cheery Lynn Designs Die - Large Leaves #2
Fresco Chalk Ink Pad - Tuscan Earth
Brilliance Ink Pad - Moonlight White

Die cut the leaf in the lower right side of the panel.  Emboss, then lightly sponge with Moonlight White.  Distress edges with Tuscan Earth.

Turn panel over and run a tape runner around the leaf cutout.  Lay pieces of ribbon across the cutout, alternating colors and widths.  About 1" from the top of the panel, adhere the ends of a piece of red ribbon to the backside of the panel.  Adhere the panel to the card base.

Make a small tag and stamp with a sentiment.  Punch a 1/8" hole at the top of the tag and tie it to the left center of the red ribbon with Bakers Twine.  Make a red ribbon bow and use a glue dot to glue the bow onto the ribbon.  Stamp a sentiment inside.

Apple Wreath Card
Here is a card using the Apple Wreath stamp set from Our Daily Bread Designs.  I stamped it once on green card stock and then stamped the apple section onto red card stock.  Both the wreath and the apples were hi-lighted with color pencils and then cut out.  The wreath is layered onto the polka dot panel but I used mounting tape for the apples.  This card is also a top folded card, 4 1/4 x 5 1/2.


The  cute little pumpkin on this card is stamped, colored, cut out, and then mounted over the ribbon and embossed background which has been distressed with a light grade of sandpaper.  I really like the writing of the Happy Thanksgiving stamp.

Pumpkin - PSX Stamps
Happy Thanksgiving - Rubber Soul
Tim Holtz Alterations Embossing Folder - Thanksgiving Background 


I was not successful in getting the background to show on the white panel on this card.  I used the Tim Holtz Alterations Hardwood Embossing Folder.  I wish you could see how great it looks.  If you have one of your own, then you know what I'm talking about it.  The leaf stamp is one of my favorites in my leaves collection.  It was made by The Rubbernecker Stamp Co.  I love how the red stands out on the white background.  I used dimensionals to make the leaf stand out even more. 
Among the many things I'm thankful for, I'm thankful for those of you who take the time to look at my blog and I'm thankful to be able to share with you.  Thanksgiving Day is only a couple of weeks away.  Remember this line from an old hymn, "Count your blessings, name them one by one . . . .)  I pray that your day is special and full of blessings.
Annie

Friday, September 26, 2014

Every Leaf Speaks Bliss to Me . . .


. . . awe, yes, such a beautiful poem by Emile Bronte.  And a perfect sentiment for this card, which by the way, is my first time making a One Flap Easel card.  I used the stippling technique to color the image and the cut out leaves.  Stippling is done by using a thick stiff bristle paint (or stencil) brush, tapping directly onto the ink pad, then tapping it onto the card stock.  Very easy to do and it's a fun technique so I hope you'll give it a try.
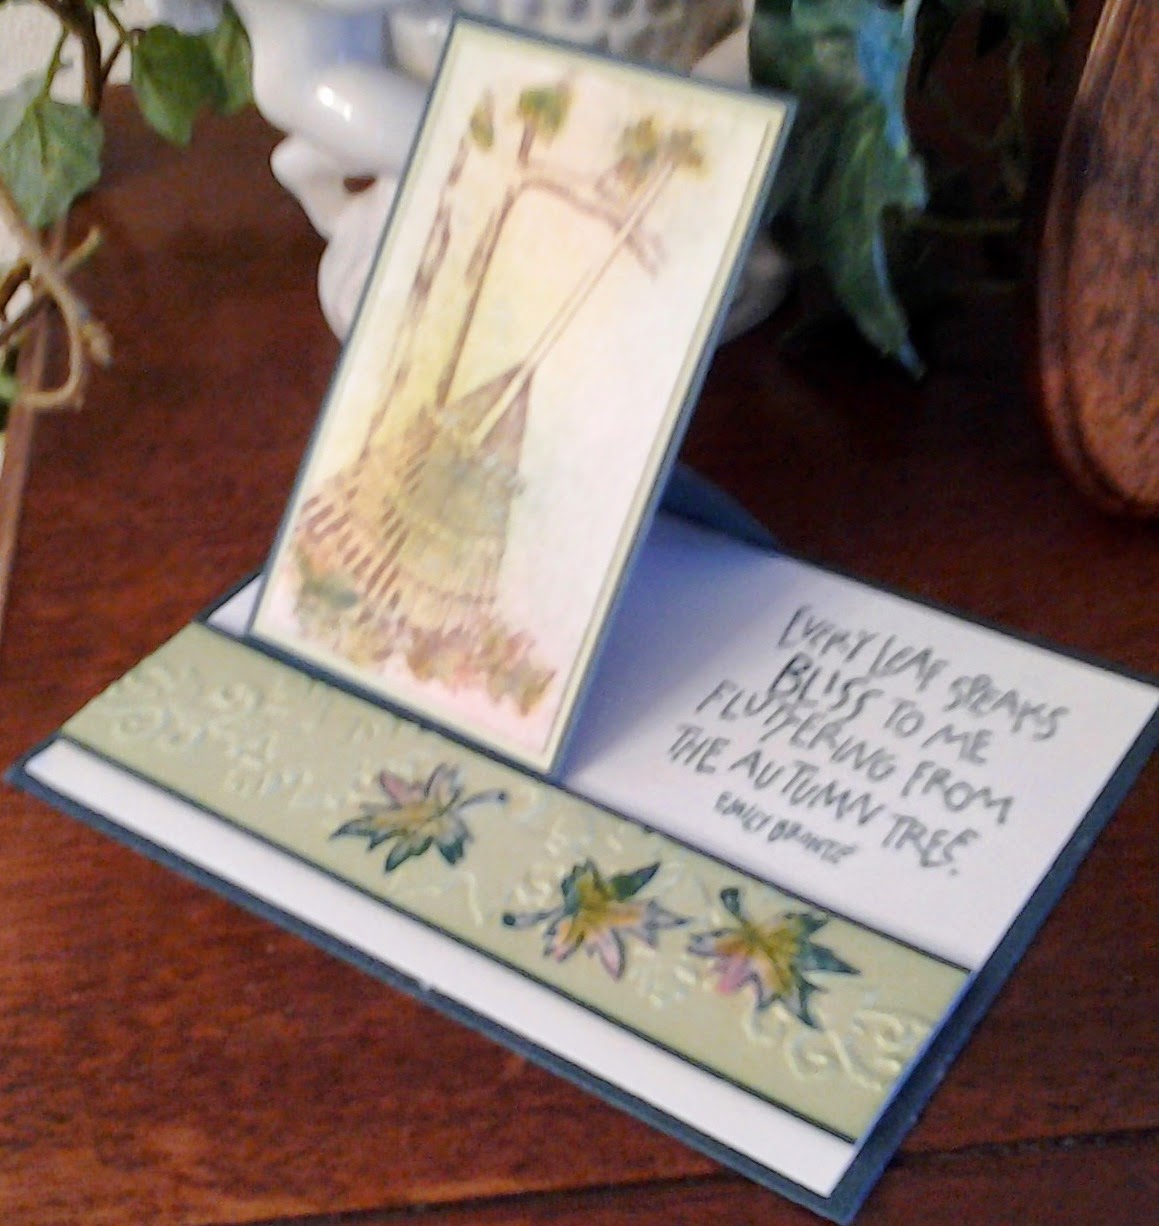
1. Card Base:
       4-1/4" x 5-1/2" Dark Green CS
       4" x 5-1/4" Olive Green CS
                      
2. Flap:    
       2-3/8" x 4-1/2" scored at 1/2"
and 2 1/2",  Dark Green CS
       2-1/4" x 3-7/8" Olive Green CS
       2-3/8” x 4-1/8” Dark Green CS
       2-1/8" x 3-3/4" Cream CS

3. Stamp the rake design (Serendipity Stamps) on Cream card stock in Memories Chestnut dye ink.  Color using stipple brushes and inkpads:  Fresco Sicilian Spice, Distress Pine Needles, and Distress Crushed Olive.  Layer onto the Olive Green card stock, then layer onto the smaller, un-scored Dark Green panel.

4. Stamp the sentiment Every Leaf Speaks Bliss to Me from Inkadinkado onto the right side of the Cream card stock using Distress Pine Needles ink.  Make sure that there is enough room for your flap. Place adhesive on the back of the 1/2" Dark Green tab and attach it to the back of the Cream piece.  Layer the stamped assembly onto the Dark Green strip, be sure to apply adhesive only to the portion below the score line.

5. Embossed Panel:  
            1-1/4” x 5-1/4” Dark Green CS
            1-1/8” x 5- ¼ “ Olive Green CS

6.  Emboss Olive Green strip with Leaf Garland from the Sizzix Thankful Background  Borders set.  Layer and center it onto the Dark Green strip and then attach it 1/4” from the bottom of the Cream panel.

7.  On a Cream scrap, stamp with the small leaf from the Hero Arts Real Leaves stamp set three times using Distress Pine Needles inkpad.  Color the leaves by stippling from the three ink pads- Fresco Sicilian Spice, Distress Pine Needles, and Distress Olive; cut out; distress the edges with Distress Pine Needles; glue onto the embossed panel.  And there you have it!  I love doing all that stippling and it provides a really great background.
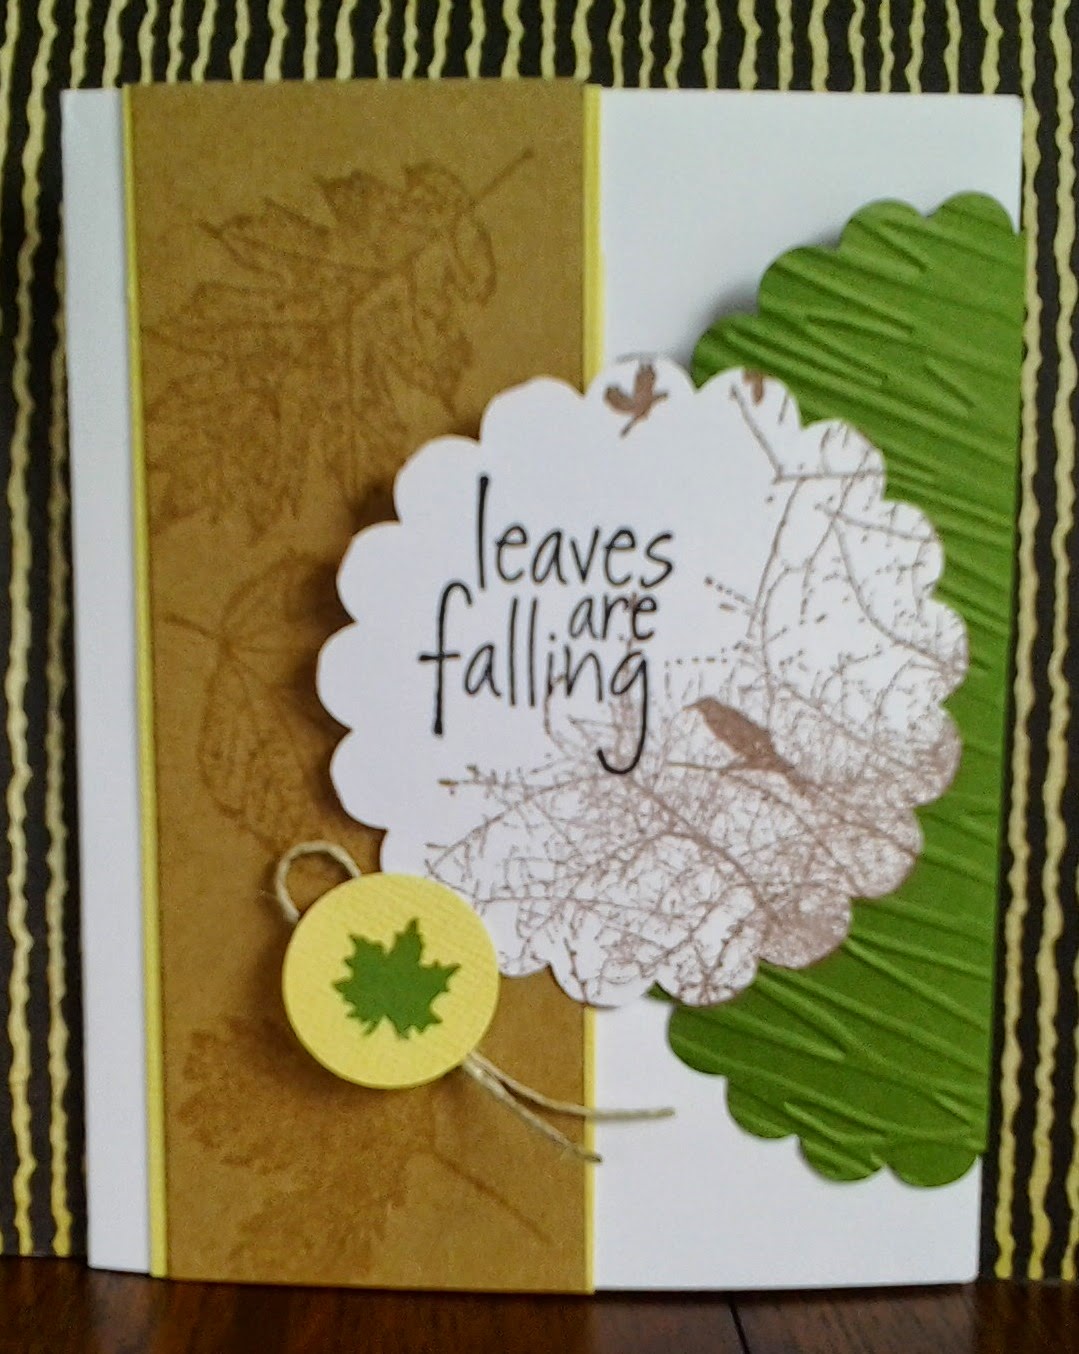

Here, we have another fall card - a Circle Framelit Closure Card. 
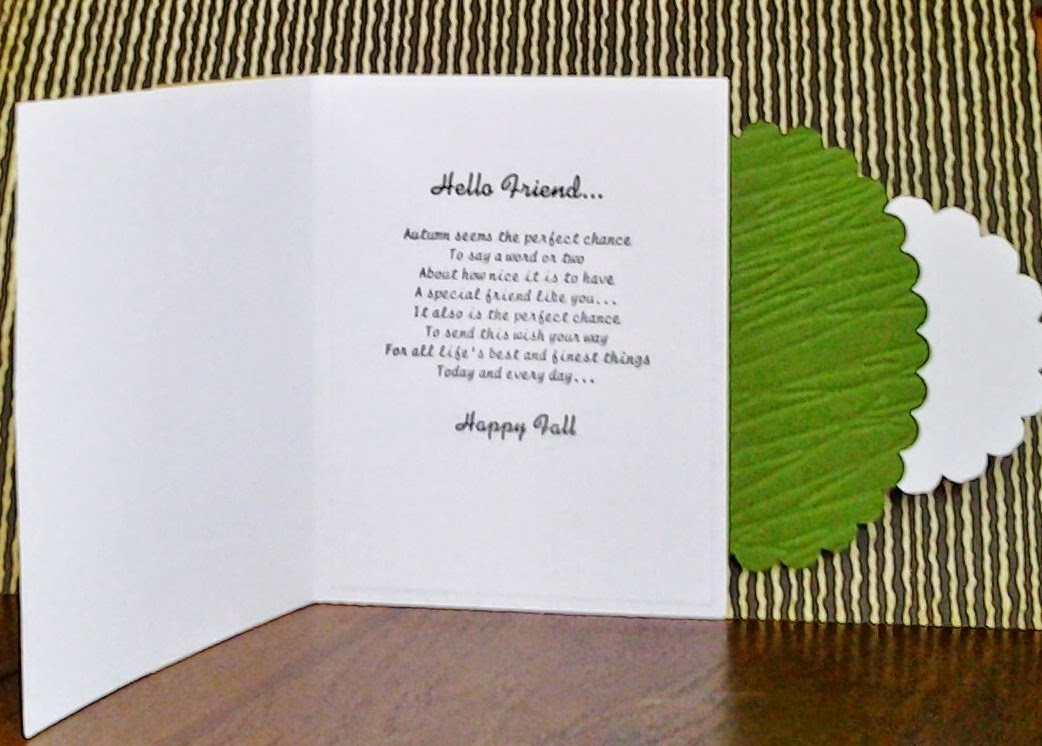
I made this card by watching it done on YouTube.  There are several things that I did differently: (1) used leaf stamps and Versa Mark ink to stamp on the brown panel, which is layered onto a yellow panel, (2) embossed the scalloped oval diagonally with the Branches embossing folder; and (3)  used a small punched leaf for the closure holder instead of a brad.  The card closes from the left, but it also has a flap on the right that folds over the closed card.  The little leaf layered onto a the yellow circle holds the flap in place.  Rather than trying to explain it here, I think you'll get a better idea of how it works if you watch the video - and I don't do videos - yet.  This link will take you to the video: https://www.youtube.com/watch?    v=Px5L63LdPIA
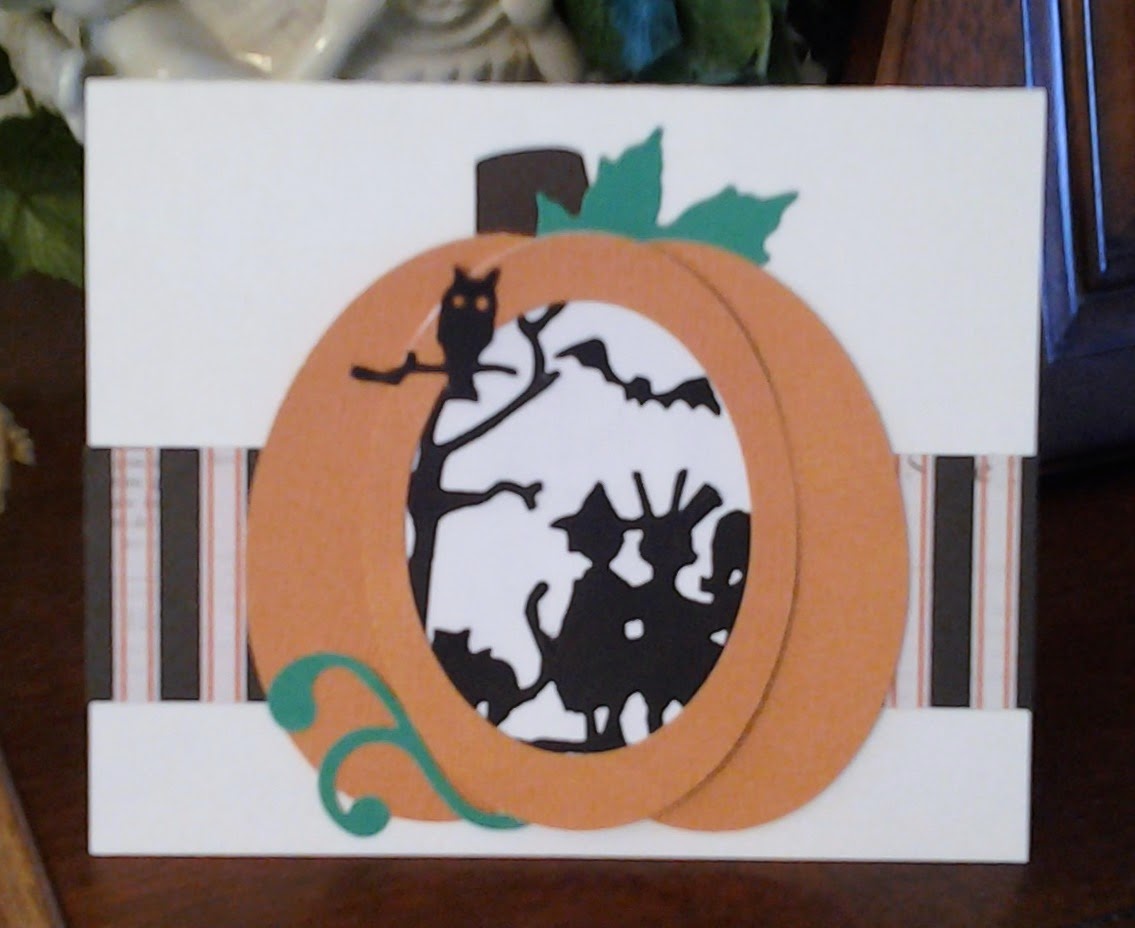


Halloween is not my "thing" but still it's a special day to me because my youngest sister was born on Halloween and also my niece.  So when I saw the Tim Holtz Alterations die called Halloween Shadows,  I really wanted to use it for birthday cards but also for my card class.  On Pinterest I saw a card that had a haunted house in the middle of a pumpkin and decided that idea would be a perfect way to use the Halloween Shadows die.  Part of the die strip has a Trick & Treat sentiment design, so that is what is used for the inside of the card for my class.  For the birthday cards, I'll use birthday sentiments instead. Spellbinders Nestabilities Classic Ovals Small are the dies I used to make the pumpkin.  The pumpkin stem was made by using a small flower pot punch, turned it upside down, and then glued in place.  Perfect!  The leaf was cut with a Cuttlebug die set called Leaves, but any leaf die or punch will work.  
  
Also for my card class, I decided to do a Halloween Flip-its card.  The die is by Sizzix and called Card, Circle Flip-its #2.  The first pic is the front of the card and the second pic is the inside.  Decorative elements are a few sequins and some orange and white twine for the bow on the inside.  I was so surprised to find out how easily this die set works.  I am now hooked on it!  Here is a YouTube link so you can see how to use the die with your Big Shot:  https://www.youtube.com/watch?v=sUdikwhBDqk

 
Well that's it for my September card class.  I hope you've seen something you'd like to try.  It's been fun sharing with you.  Thanks for stopping by and check back soon for some more ideas.
May your creative juices keep flowing and may your days be blessed.
Annie


Sunday, May 5, 2013

Ms. Maddie Hatter

  Hello blogging friends!  What a beautiful Sunday afternoon we're having here in Wenatchee.  Since I had to come inside to cool off from the heat of the sun, I decided to show you what I've been creating for the past week or so.  My church is having a Mad-Hatter Tea Party and we've been challenged to decorate a hat and wear it to the tea.  Naturally, there will be a prize for the owner of the hat that is voted best hat.  Woo, woo!

I thought it would be fun to go as "Ms. Maddie Hatter" (with name tag also saying AKA Annie).  I plan to wear white pants, a white jacket, a red top, a small red fabric purse with red shoulder strap, and red shoes.  Yep, I think I'm going to have some fun with all of this!

I moulded the hat and brim from chipboard, then covered them with a beautiful white specialty paper.  The tulle rose trim around the brim is from Stampin' Up.  (It's only available until the end of May - it won't be in the new catalog, I'm told.)  The red feather was stamped on red card stock (Stamp A Mania), and the butterflies are from a Martha Stewart punch
The flowers were made using two shades of red, but all from the same die - the Sizzix Quilled Rose/Carnation.  I quilled the dark red roses, but separated the petals and glued them together to make the light red flowers with white center.  For the tea cup, I found a template on line at www.layersofcolor.com called Paper Tea Cup and Saucer.  Actually, it was fairly easy to put together.  I cut out one set using the flowered scrapbook paper and then another set using red scrapbook paper, gluing one cup inside the other; same with the saucer.
Well, that's my tea party hat - I can hardly wait to wear it.  Thanks for letting me share this project with you.  Wishing you a blessed week. 
Annie