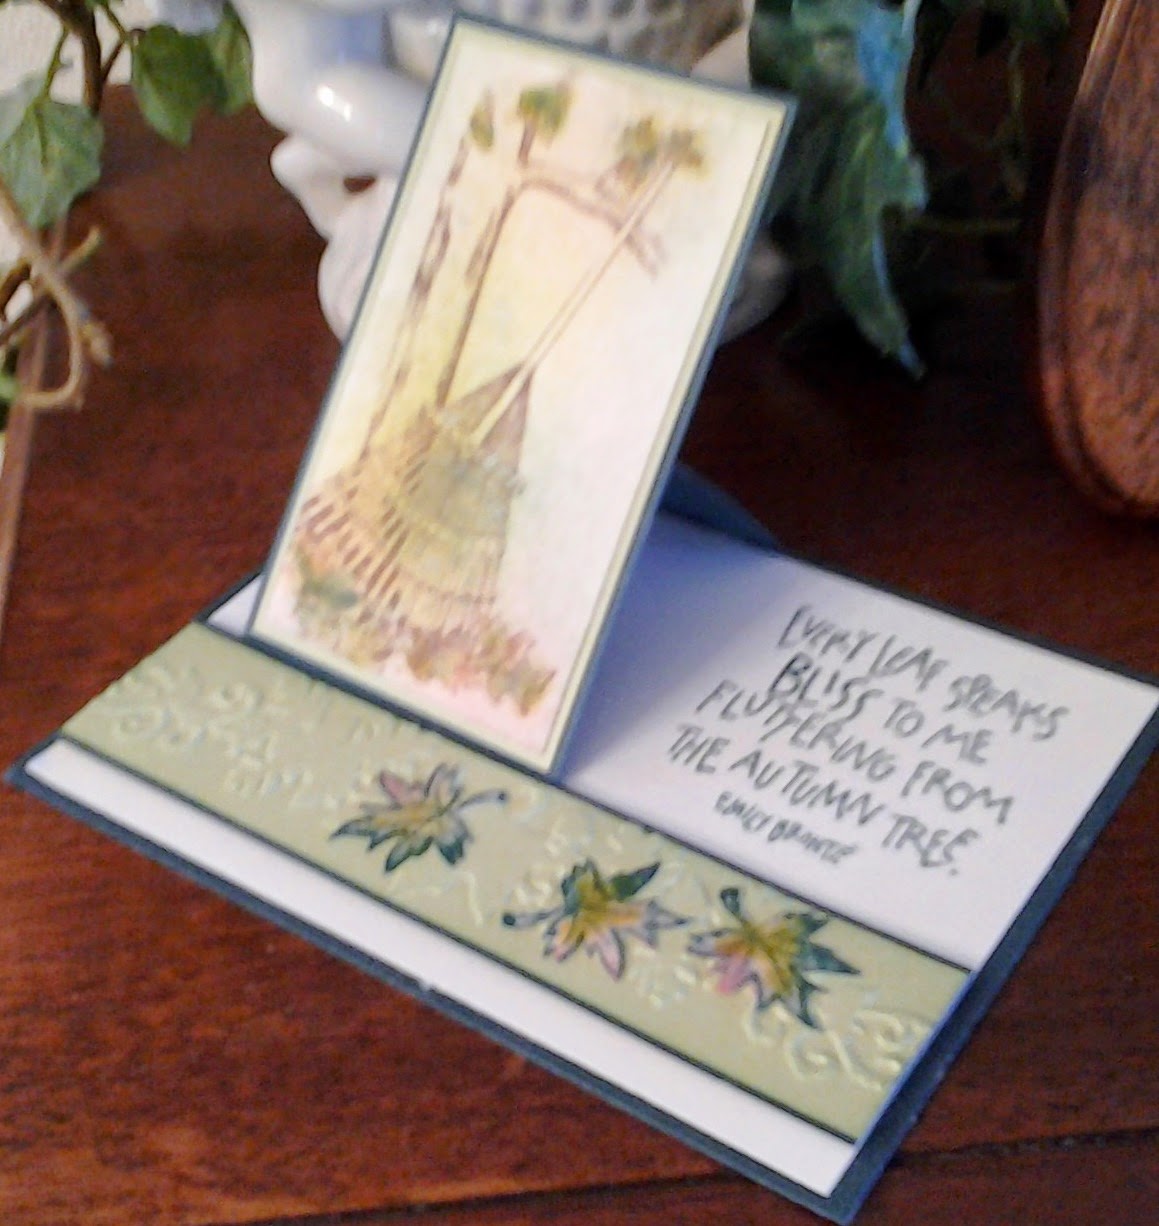
How I love to learn a new fold for my card making! This is called a Gate Fold Shutter Card. I saw the instructions for this card on YouTube. It really is an easy to make card once you get all the pieces cut and scored. Here is my take on it - hope you like it.
Remove the belly band and as you slowly open the gate folds, it pulls the shutter open inside the card as shown below.
Isn't that just cool! The design is my own, but I can't take credit for the shutter mechanism. I don't know who the original artist is as there are so many posted on YouTube.
Here are the instructions that I wrote up for my class.
Gate Fold Shutter Card – 8 ½ x 5 ½ Card Base
1. DO NOT FOLD CARD! We first need to score it.
a. Score at 2 1/8 & 6 3/8.
b. Fold on score lines.
2. The two outside panels of decorative paper are 5 ¼ x 1 7/8.
a. Adhere the two panels to the front of the card.
3. The inside center panel is:
a. Colored card stock – 3 x 5 ½
b. Decorative paper – 2 ¾ x 5 ¼
c. Adhere them together.
d. Using a 2 ½ round punch or die, cut a circle in the middle of the panel.
e. Lay aside.
4. The shutter: 2 pieces of colored card stock 3 ½ x 4.
a. At one end score at ½, leaving the remaining section to measure 3 ½ x ½ .
b. At the opposite 3 ½ end, make a pencil mark on the edge at the center – 1 ¾ .
c. Make another mark 2” above the first mark.
d. Cut from each corner end to the 2” mark, making a big “V” shape.
e. With the “V” shapes facing each other, fold the ½” scored section toward the back on both pieces.
ß 4” à
__________________
| . |
|
. ß2”à | á
|1/2 . .________.|
3 ½ “
|
. | â
|
. |
|_________________|
f. Place a strong DS tape (Red Line) on the end of the scored section.
g. Place the folded panels just outside the centerfolds of the card, left and right, align the shutter pieces across the top and bottom, then remove tape and glue in place.
4. Use 4 dimensionals to stick the panel to the center of the card.
a. Be sure to place the dimensionals one at each top corner of panel.
b. Place the panel over the two shutter pieces.
c. With the card lying open, stamp a small sentiment in the shutter
opening.
5. Two Side panels inside the card:
Colored Card stock 1 ¼ x 5 1/2
Decorative paper 1 x 5 ¼
6. Belly Band – 1 x 11”
a. Place the right end of the band at the front of the card at the right edge.
b. On the left edge of the card, fold the band around the back and to the front, placing the end underneath the previous piece of the bank.
c. Glue or DS tape in place.
d. Cut a notch in the showing right end.
7. Small panel to attach to center of bellyband:
Light colored card stock 1 ¾ x 2 ¼
Coordinating colored card stock 2 x 2 ½
a. Stamp the Fish Net image on the 1 ¾ x 2 ¼ card stock (I used
Antique Linen Distress Ink).
b. Distress the edges with Memories Midnight Blue.
c. Over stamp with the anchor image using Memories Midnight Blue.
d. Layer this piece onto the colored card stock piece.
e. Adhere it to the center of the bellyband.
Stamps: Anchor (dragonflylaser.com)
Happy Birthday (Stampin’ Up)
Fish Net Background (Our Daily Bread)
Die: Nesting Circles (Lifestyle Crafts, the 2 ½ “ circle) or you can use a 2 ½ “ punch.
If you have any questions, please let me know. Wishing you a day full of blessings.
Annie


 Anyone that knows me, knows that cats are an important part of my life. When I hold KoKo's sweet little warm body to my chest and listen to the soft purring and feel the little rubbing against my neck, I know that I am holding a precious gift that the Lord has put in my care. A little gift that quiets my mind and brings on relaxation, and gives me unrestrained love. I think KoKo must have learned those things from God!


 Ribbon Leaf Card
 Apple Wreath Card

 If God is Good, Faith in
the Midst of Suffering and Evil, by Randy Alcorn
If God is Good, Faith in
the Midst of Suffering and Evil, by Randy Alcorn
 1. Card Base:
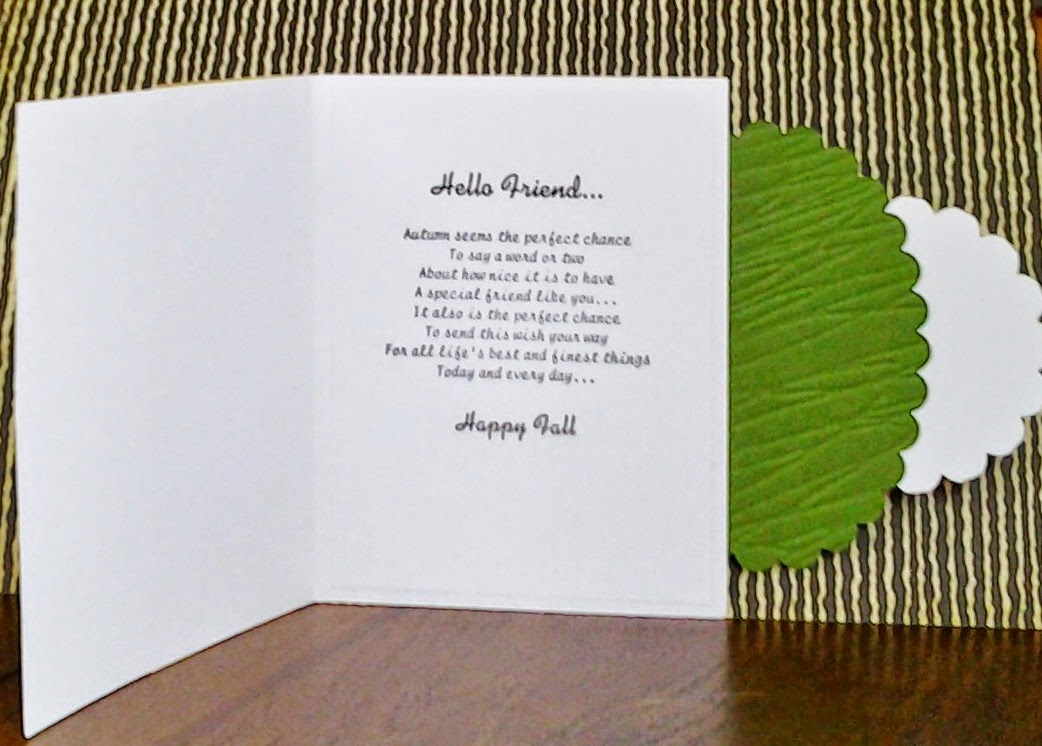
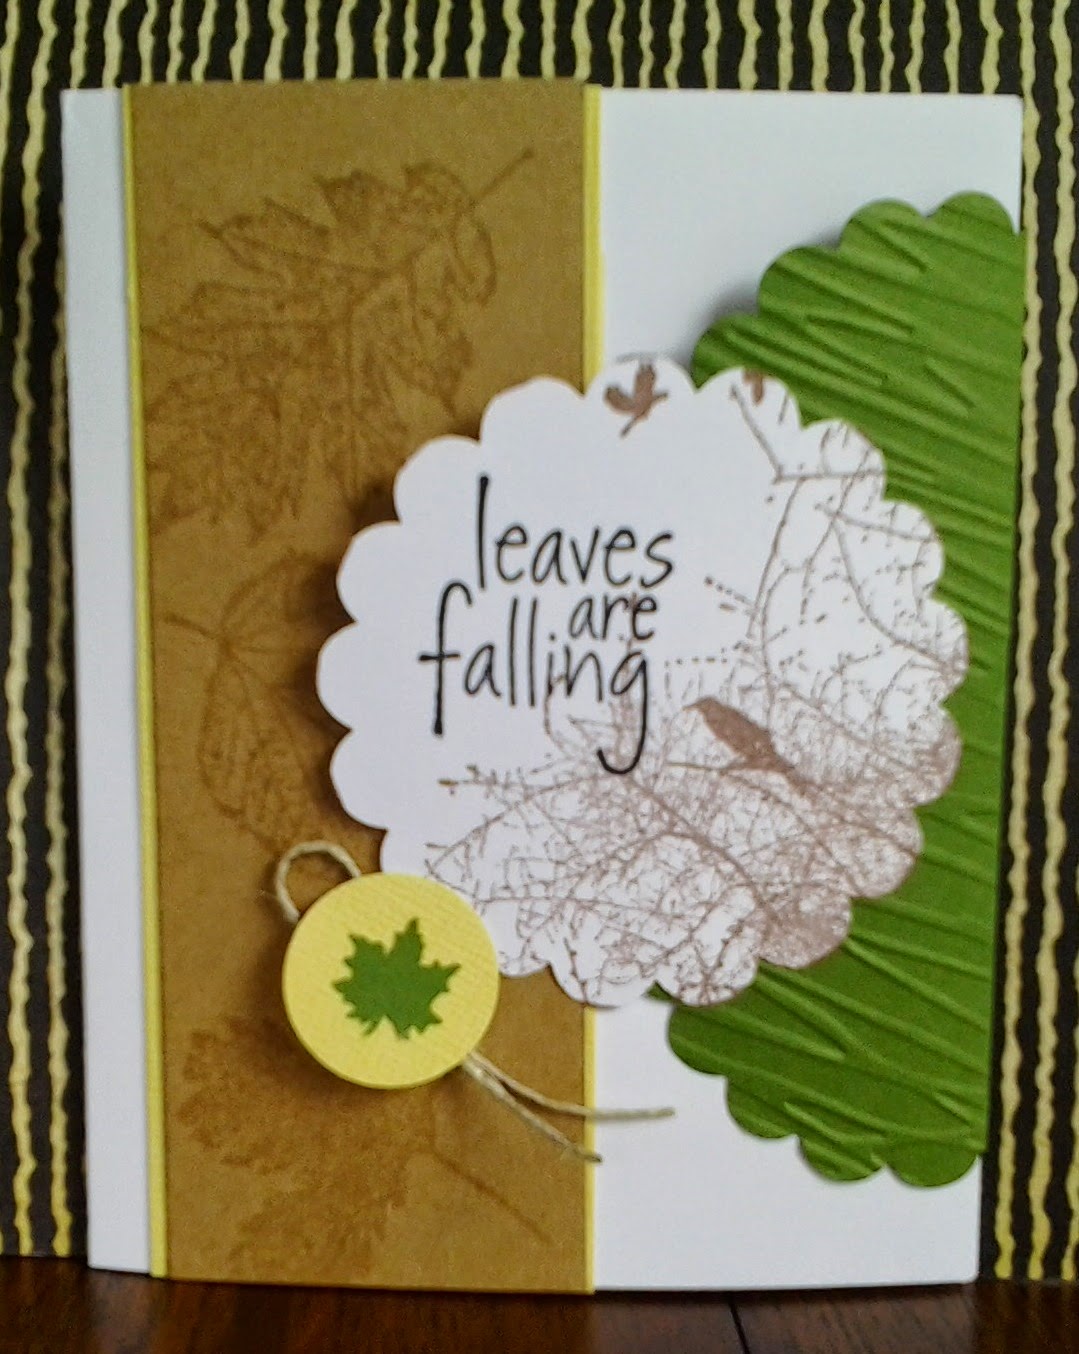 Here, we have another fall card - a Circle Framelit Closure Card.