Showing posts with label Thank You. Show all posts

Friday, September 11, 2020

A “Fisherwoman” Thank You


Annie’s Ink-Lings


Hello all!

 Do any of you stampers also have fishing as a hobby?  Or fishing friends?  Then, this may be the card for you.  You can easily change it to a birthday card or just a thinking of you card.

A friend requested that I make a thank you card for her for a woman who loves fly fishing.  I immediately thought of the Stampin’ Up set called Best Catch and the coordinating framelits.  Being inspired by some ideas I found on Pinterest, this is what I came up with.


Notice how I changed the man image to look like a woman by giving her some long black hair and a tiny dot of lipstick.  I'm so glad that it worked out okay.

Just added a small fish on the sentiment page to carry out the theme.

A4 Card
Stampin’ Up Pinewood Planks Embossing Folder
Stampin’ Up Catch of the Day stamp set and framelits
Stampin’ Up Free as a Bird stamp set: Thank You
My Sentiments Exactly stamp: It was so nice of you . . . M279-10
Copic Markers

Happy fishing . . . or whatever brings you joy! 

May you be blessed in a special way today.
Annie


Friday, July 26, 2019

Pink Poppy Thanks


Annie’s Ink-Lings


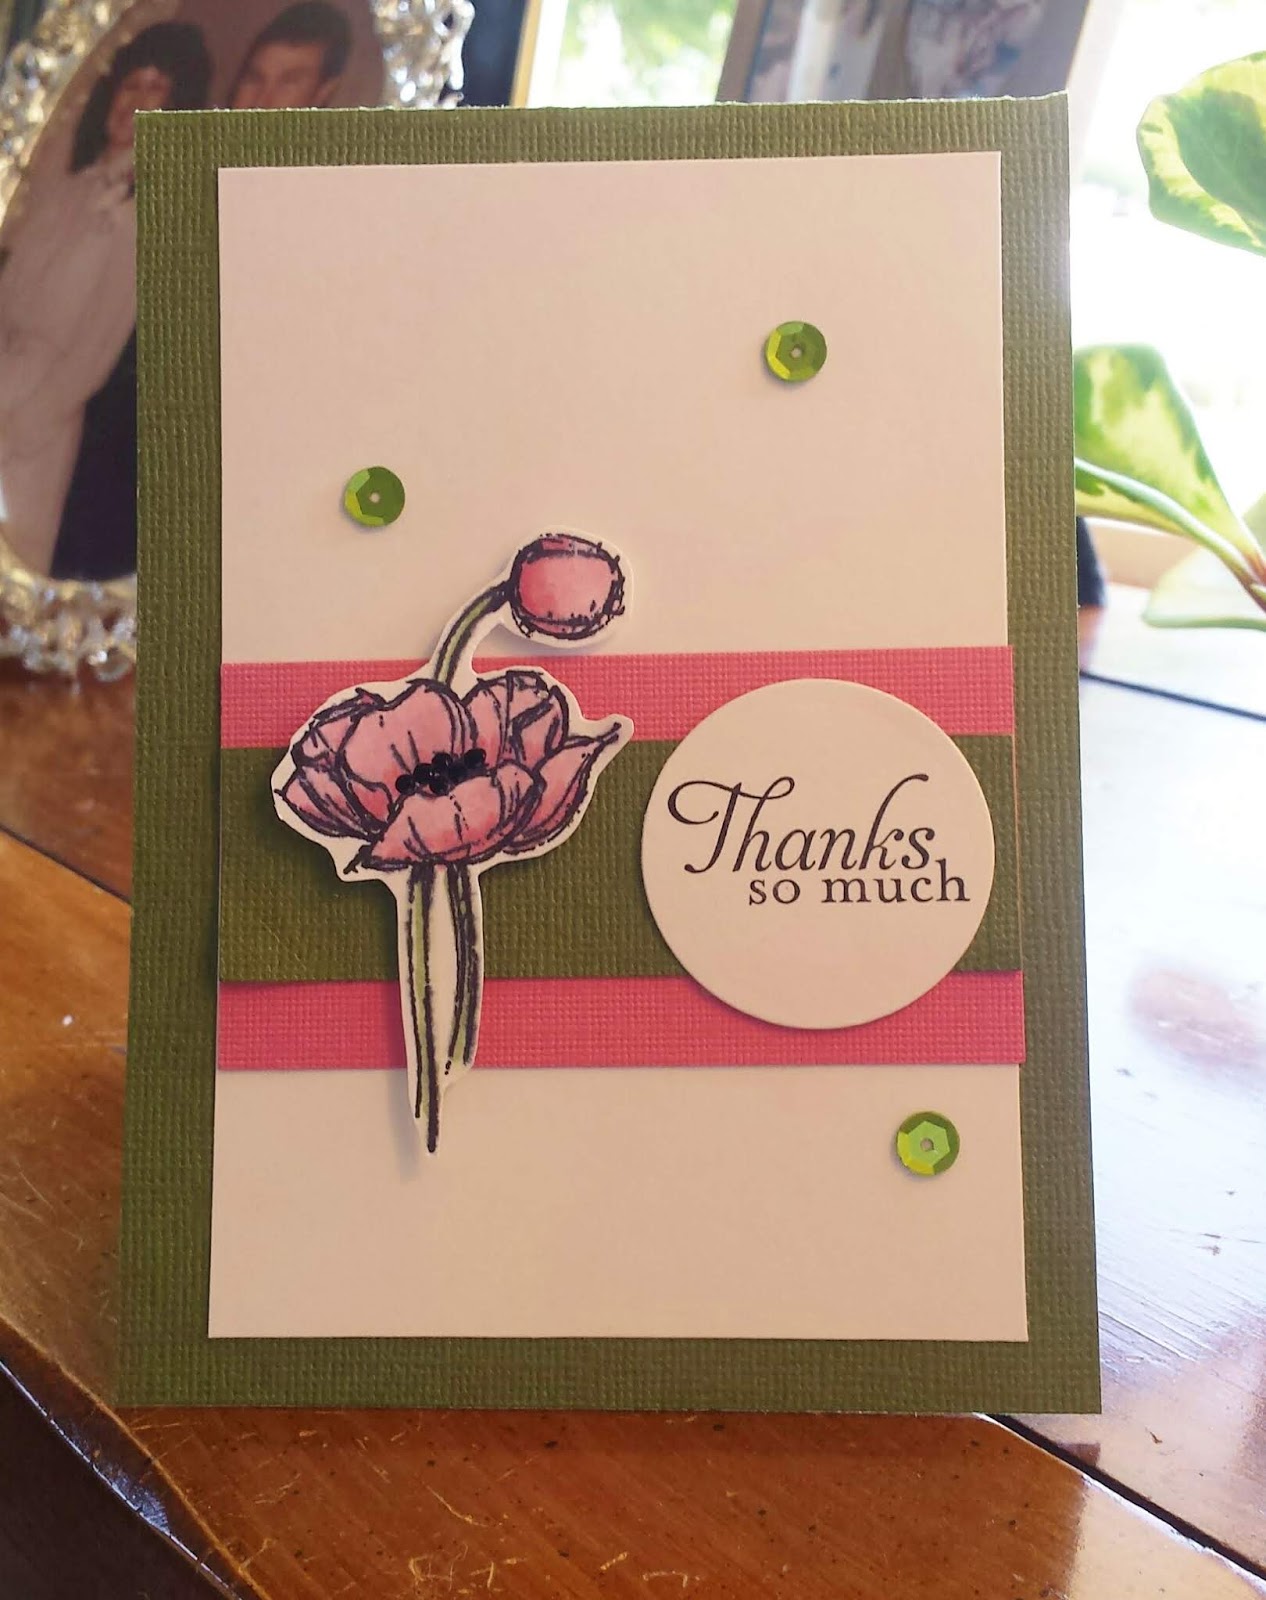
I don't know what it is about poppies, but for some reason when I look at them they give me a "happy heart" boost.  Truly, it is really hard for me to resist purchasing another poppy stamp.  I have a friend who feels the same way about irises.  This sweet poppy is from the Simply Sketched stamp set from Stampin' Up.  After stamping the poppies on white card stock using a Ranger Archieval Ink pad, I heat set the ink to avoid any smearing of the black ink.  I used Copic Sketch Markers to color the poppies and finished the one off by putting small dots of black Enamel Accents in the center.  I fussy cut the image and adhered it to the card with foam tape for the 3-D effect that I like.  A few matching sequins in a somewhat triangular pattern perfectly tied everything together.


Measurements
Top-folding Card Base  11 x 4 inches
White Panel  5 x 3 3/8 inches
Pink Panel 3 3/8 x 1 3/4 inches
Green Panel 3 3/8 x 1 inch

Supplies
Simply Sketched stamp set from Stampin' Up
Ranger Archieval Ink Pad
Copic Sketch Markers #R81 Rose Pink, R85 Rose Red, and G94 Grayish Olive
Ranger Enamel Accents - Black Tie

This is an amazingly quick and easy card.  I'm planning on making one or two more of this style but using different flower stamps.  Thank you for letting me share with you today.

Blessings,
Annie


Monday, February 12, 2018

A Latte Thanks

Hi friends,

My most favorite drink is a Mocha.  Just love that chocolate and coffee flavor!  So when I saw this Impression Obsession Coffee Cup die set, I fell in love.  It makes the cutest little latte cups I've ever seen.  I also have this liking for "little" things.  This is my first card using this die set and I can hardly wait until I have time to do some more designing with it.  This particular design is quick and easy.


Supplies
A2 White Card Base
4” x 5 ¼” DP for Front Background Layer
Take Out Coffee Cup Die by Impression Obsession
            Die cut 3 cups from coordinating DP
            Die cut 3 lids and 1 straw from light brown DP
Cut 3 squares ½” x ½” from the Background DP
Computer generate the sentiment “Sending You a LATTE THANKS,” or use one of your own coffee
            sentiment stamps, onto white cardstock
1 Dew Drop
Aleene’s Turbo Tacky Glue Pen (or any strong, quick-dry glue)
Glossy Accents
Tape Runner
Scotch 3-D Mounting Tape
Paper Trimmer
Sizzix Big Shot
T-Ruler

Directions
1.  Mat the background layer onto the front of the card.
2.  Trim the sentiment to ½” x  4 ¼” .  Cut off the left end in a downward diagonal.
3.  Adhere the sentiment strip to the right side of the card front with right end aligned with the DP panel, and 5/8” from the bottom of the white card base.
4.  Using Glossy Accents, glue the Dew Drop onto the right end of the sentiment strip.
5.  Assemble the little coffee cups.
            a.  Glue the DP square behind each of the oval openings of the sleeve dies.
            b.  Slide the coffee cups through the top slit in the sleeve dies and glue in place.
            c.  Glue the lids onto two of the coffee cups.
            d.  With the third cup, slide the straw through the opening in the coffee cup and glue in place.
            e.  Glue the lid behind the cup opening and the straw.
6.  Place a strip of mounting tape on the back of each of the coffee cups.  I used a T-Ruler to make sure that I lined up the coffee cups evenly, a little to the left side of the card. There is approximately a ½” space between the bottom of the coffee cups and the top of the sentiment strip.

It was really fun to make this little thank you card.  Hope you give it a try.

Blessings,
Annie

Monday, January 18, 2016

Glaze Background Technique

Hello again!

Today I have a technique to tell you about that is new to me.  I've done this technique before using alcohol inks and distress inks  and also Luna Lights.  But this time I used Golden Glaze, an artist medium.  I normally use it on pages when I'm making an altered book.  The product I used is a slow-drying, water-based acrylic with a satin finish; colors - Violet Earth, Sea Foam Green, and Fresco Cream.

On a piece of grey card stock, I randomly poured about 1/4 to 1/2 teaspoon of each color.  Using a Tsukineko Squeegee (a credit card is a substitute), I smoothed the colors over the card stock, lightly blending as I covered the whole panel.  You may need to add a bit more of one color or another, to your liking.  Keep in mind to not over blend or your colors will become muddied.  Lay aside to dry or if the piece is not too damp, you can dry with your heat gun.  Next, I lightly sponged Memories White Dye ink over the entire panel.

Once dry, I embossed it with Tim Holtz wood grain embossing folder.  The leaves were made using Impression Obsession Leaves die set.  Give it a try and let me know if you liked the technique!

Blessings,
Annie

Saturday, January 10, 2015

Thank You! - One Sheet Wonder Mini Pocket Folder

I am one happy gal and excited about how this little project turned out!  While I was brainstorming for an idea to make an unusual thank you card, this little folder is what came together. 
I used the “one sheet wonder” pattern (https://www.youtube.com/watch?v=7uGGdpT_vG0) which gave me 8 pockets to fill and decorate. 
The first 6 pockets are individually lettered from the word “THANKS. 
Each of these 6 pockets holds a tag that has the matching letter at the top over a Bible verse that starts with that letter.  The 7th pocket holds a tag on which to write a message and sign my name.  The 8th pocket holds a gift card.   I used a border/edger punch on the tops of all the tags. 
The front of the folder has a stamped and layered sentiment attached over the length of ribbon, which holds the ribbon in place.  So fun - I hope you will give it a try!  Let me know if you would like to have the Bible verses I used and I will email them to you.
Blessings,
Annie
Supplies
12 x 12” double sided decorative paper (card stock weight)
3 or 4 sheets of coordinating decorative paper (card stock weight)
1 solid color sheet of coordinating card stock
1 sheet of white card stock
2 feet of coordinating ribbon
1 package of coordinating flower stickers
Tim Holtz Alterations – Vintage Alphabet 656623
Sizzix Die – Tickets 657569
Spellbinders Nestabilities  Decorative Elements – Romantic Rectangles S5-090
A Border/Edger Punch