Monday, November 30, 2020

Christmas Accordian Book


Annie’s Ink-Lings


I find that when preparing to make my Christmas cards, I always get in the mood to also do a Christmas project of some kind.  This year I chose to do an accordian book with a Christmas theme and use some Graphic 45 papers that I've been holding onto, just "for the perfect project."  I used the G45 8x8 inch paper pad called, "A Christmas Carole."  

This is what the front side of the accordian book looks like when fully opened.


And this is what it looks like on the opposite side.


In my subscription to G45, I received a PDF for this type of project.  I only followed the portion referring to the cutting sizes of the black chipboard and the first layer of paper for each section, plus also how to cut and connect the hinges to connect the sections together.  But as to designing all the rest, I just picked out what I liked and what I thought looked good together.  It was truly fun watching it all come together.

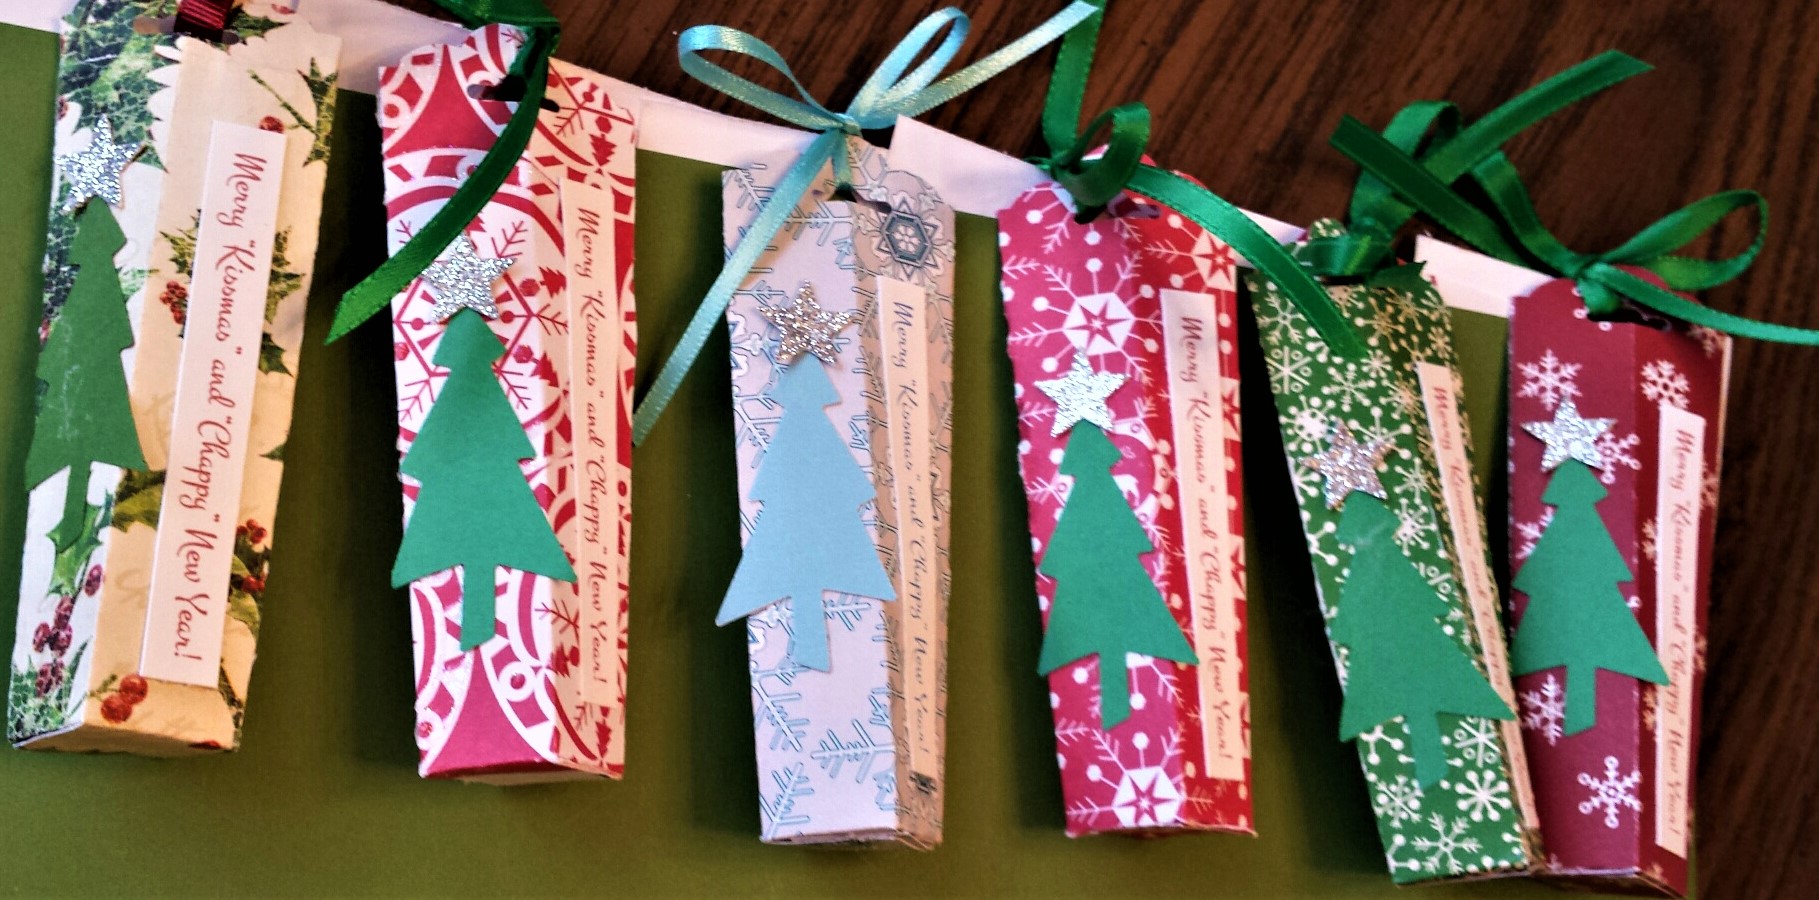
Here are a few close-ups the sections.


I did a lot of fussy cutting and a lot of cutting and trimming to fit all the pieces together in a somewhat balanced design.   On the page below, I used a scallop punch to cut out the lady reading a book.


For the page above, I fussy cut the dancing man and woman, and on the page below I fuzzy cut happy Mr. Scrooge.


I also fussy cut the little boy at the bottom of the page below.


To find the G45 PDF for this project, click here.  I hope you've enjoyed looking through some of the pictures of my album.  Another idea for this album would be to use your own Christmas pictures instead of the G45 paper pad.  I just hope you are inspired to make one of your own.

Blessings,
Annie


Monday, November 23, 2020

G45 Slimeline Christmas Card


Annie’s Ink-Lings


I admit I have been pretty slow about jumping on the band wagon for the new slimline style of card.  But here I am, finally, with my first slimline card.  Here is what my idea turned out to be.


I chose to make it with G45 Christmas papers.  So many times, I have had a hesitancy of using these papers because they are just too pretty and I might not be able to get anymore like them.  Anybody else have that problem with pretty papers???   

My card base is a 7 x 8 1/2” piece of a green cardstock, scored at 3 1/2” and folded in half.  I layered it with a 3 ¼ x 8” panel of G45 DP. 


To make the layered circles, I first used the Stampin’ Up 2” punch on another of the G45 DP papers, then the Stampin’ Up Starburst punch on green card stock, and the bottom red layer was cut out using the Tim Holtz Stitched Circles dies.  The top and bottom circle panels were adhered to the card base, but I used 3D tape for the middle panel.


The Merry Christmas sentiment is from the Lawn Fawn “Ready, Set, Snow” stamp set and coordinating dies.  I added little green gemstones on the sentiment label and each of the bows for a touch of glitz.


For a bit more decoration, I glued a pretty little red bow on each of the 3 circle panels (made with a die from Tim Holtz Funky Festive die set). 


I think it turned out very colorful and cheerful, so I’m happy.


Blessings,

Annie


Tuesday, November 17, 2020

Christmas Tube Box Chapstick Holder


Annie’s Ink-Lings


I’m back today with a cute little Christmas favor box, or it could be used as a stocking stuffer.  You could fill it with any number of things – candy, money, etc. – but I chose flavored chapsticks.  Of course, this little box can be useful throughout the year for any occasion you choose.  I saw this idea on a YouTube video by Dawn’s Stamping Thoughts and you can view it here. I plan to give these sweet little things out to my Revelation Bible Study group, my Stamp Class group, and to the group with whom I’m doing another bible study.  These boxes are really quick to make and it was a good thing, because I made bunches of them.  😊


Supplies 
Colored Card Stock to match the Christmas DP 
Silver or White Glitter Card Stock 
Paper Trimmer 
Score Board 
Scissors 
Paper Shapers Christmas Tree Punch (or whatever you have – punch or die – about 2” tall) 
Stampin’ Up Scalloped Tag Topper Punch 
Small Star Punch or Die 
Ribbon to match the colored card stock 
1/4“ Score Tape 
Glue Bottle

Measurements
Christmas Card Stock 3-1/2 x 5 inches

Scoring
Score across the bottom of the panel at ¾ inches
From top to bottom, score at 3/4, 1-1/2, 2-1/4, 3 inches

Directions
1. Fold all score lines.
2. Cut out the small rectangle at the bottom of the ¾-inch section.
3. Fold in the 3/4 inch section, then fold in half.
4. Use the Scalloped Tag Topper on the top end (the crossways scored end is the bottom).
5. Miter both ends of the 3/4-inch section.
6. At the bottom end, cut each scored line up to the crossways scored line.
7. Add score tape to the edge of the 3/4-inch section.
8. Fold in half again, adhering it together.
9. Add glue or score tape to 3 of the bottom cut sections. First fold in the unglued section, then continue all around until all the cut sections are fold on top of each other and glued into place.

Don't you just love the chapstick poem and the sentiment!  Merry "Kissmas" and "Chappy" New Year to you.

Blessings,
Annie